cPanel is a Linux-based web hosting control panel, used to simplify the process of a website hosting. cPanel is one of the most popular and secure platforms to handle your website. To set up an email account in cPanel you need to follow a few simple steps, listed below.
Total Time: 10 minutes
Login into cPanel
Enter your cPanel Username in a Username text box and cPanel Password in a Password text box. Make sure you entered the right username and password, and if you forgot the details click on “Reset Password”. Read more about how to access your cPanel password.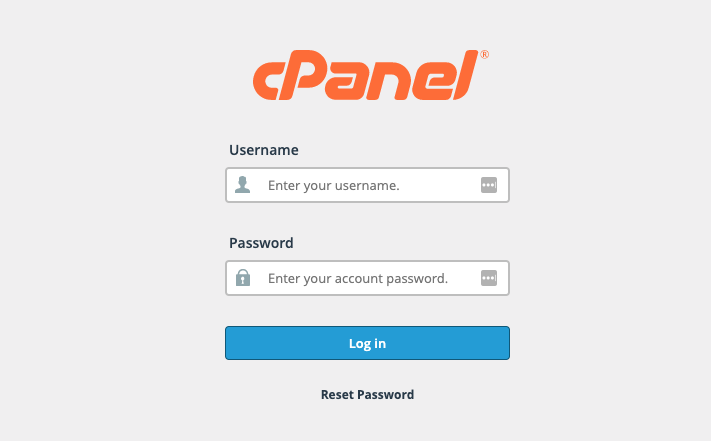
Go to the Email section
After successfully login, you will get into the dashboard screen for the panel; in the “Email Accounts” section, click on “Email Accounts”.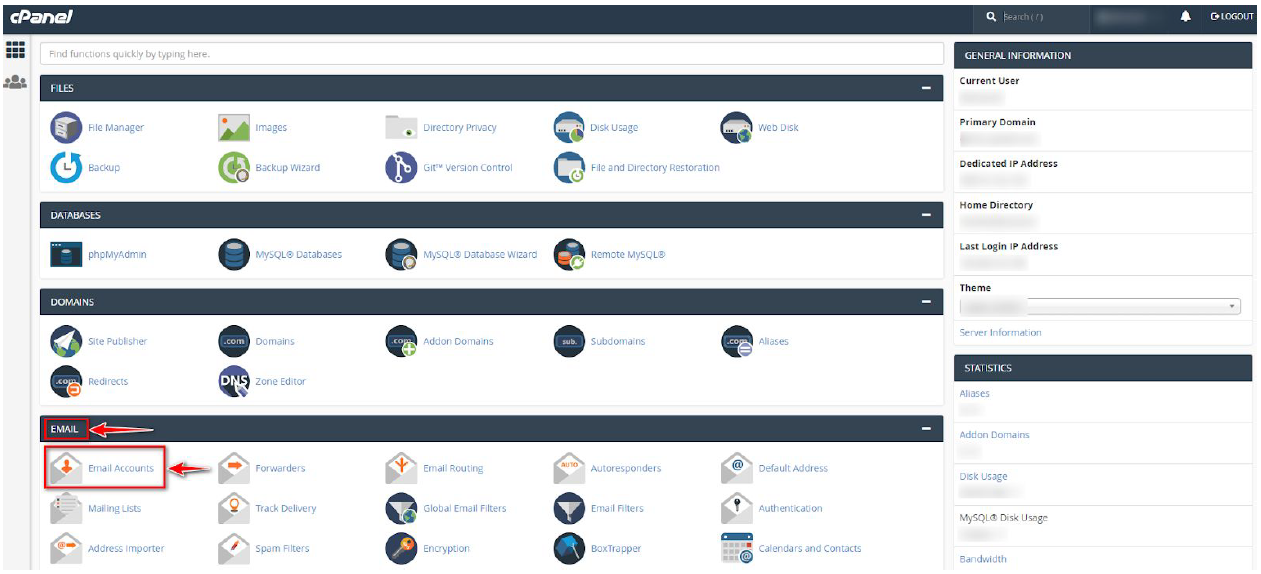
Email Accounts screen
Once you click on the “Email Accounts” link, you will redirect to Email Accounts screen.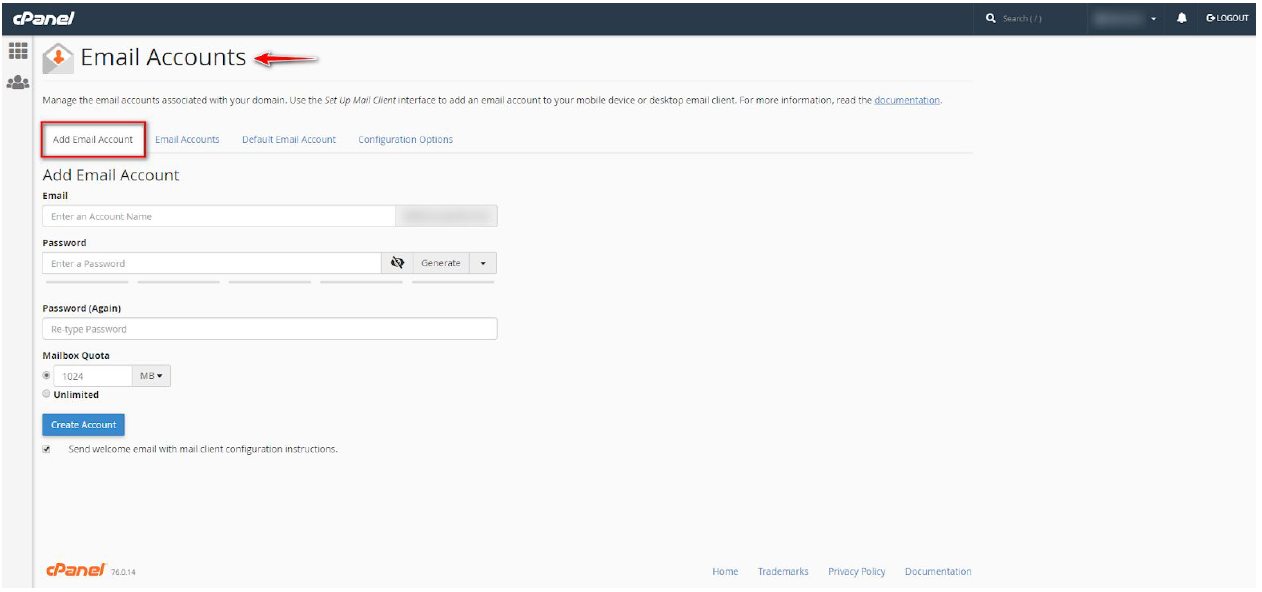
Add Email
On the Add Email Account section, you need to add necessary information to create an email account. In first field “Email” you need to add email id, you want to create. In this filed you need to enter only email-id you want to create, for example, if you want to create an email-id called abc@yourdomain.com, then you need to enter the only abc in the text box, @yourdomain.com is already available.
Enter Password
After inserting the email ID, you need to enter the password.
The password should be powerful; you can generate a random password using the “Generate” button.
For generating the password, you can set the criteria;
You can set “Length” for your password, and the default length is 12.
Also, you can set the “Letters” case, if you want to set your password only in UPPERCASE, then select “Uppercase” option.
If you want to set a password in lowercase then select “lowercase” option.
And if you want to set the password in “Mix Case” i.e. both Upper and lowercase, then select “Both” option. The default is “Both”.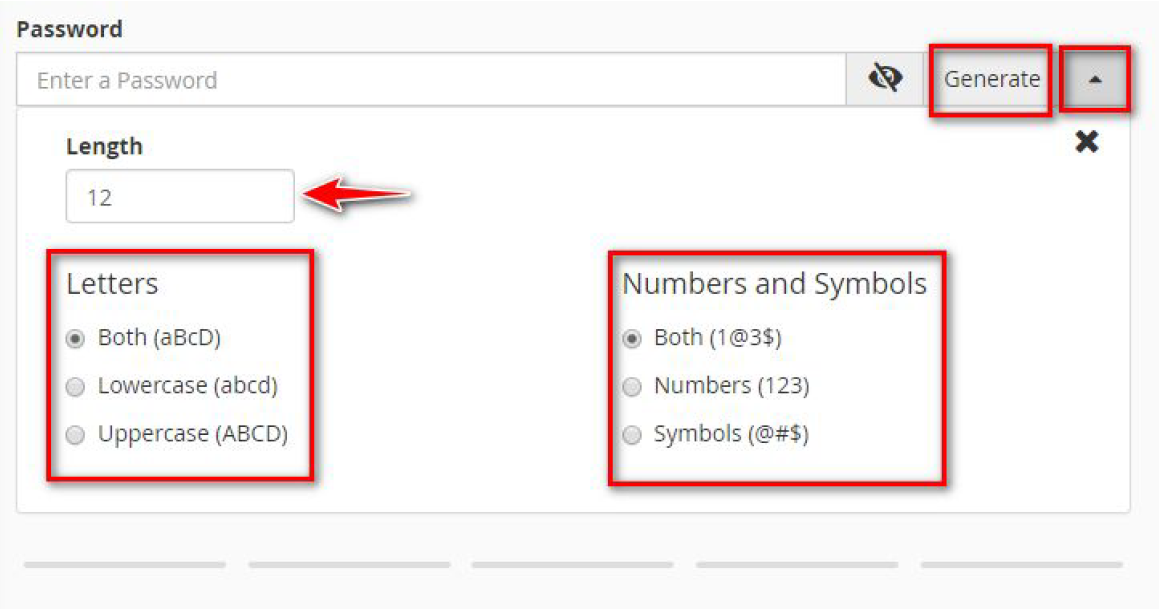
Mailbox Quota
After that, you can set the size of your mailbox in “Mailbox Quota”. You can set either the limited or unlimited quota for your mailbox.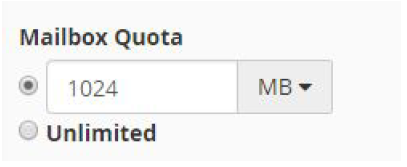
Create Account
After filling the details click on Create account.
And select the checkbox “Send welcome email with mail client configuration instructions.” It will send you a welcome email and configuration instructions.
Once you click on create account button, you will get the success message.
Access Email
We have a detailed article about how to access your email after it has been created.

Leave A Comment?