
reCAPTCHA is a CAPTCHA system that enables web hosts to distinguish between human and automated website access. It helps to block unnecessary BOT that uses up site bandwidth and also helps to eliminate email spam on a contact form page.
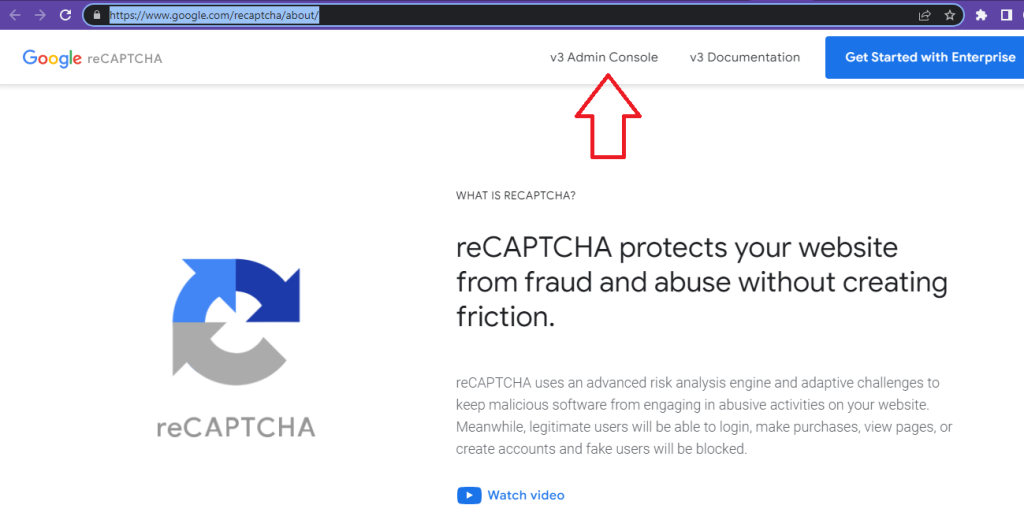
1. You need to generate reCAPTCHA keys, visit google https://www.google.com/recaptcha/about/
Then log in to your Gmail account and click on ‘v3 Admin Console’ as shown in the file below
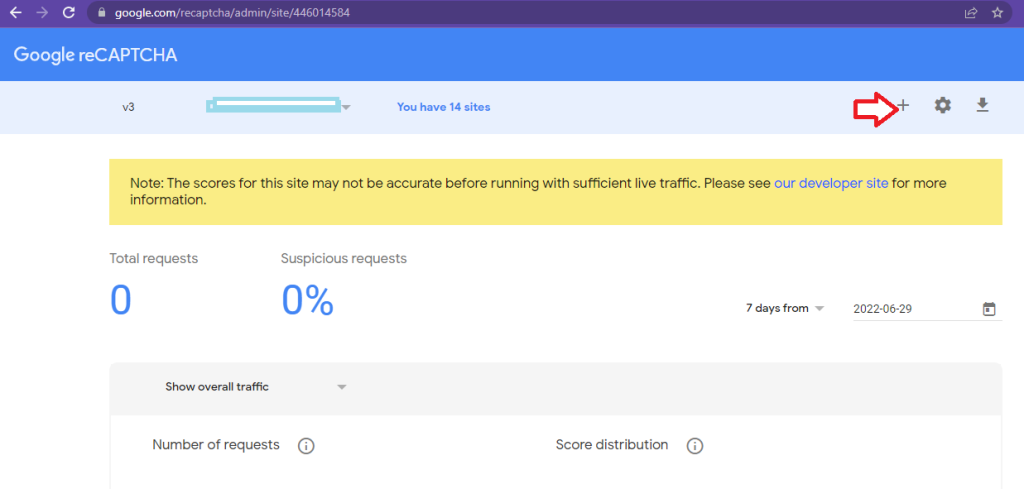
2. To add your domain name, click on the + button
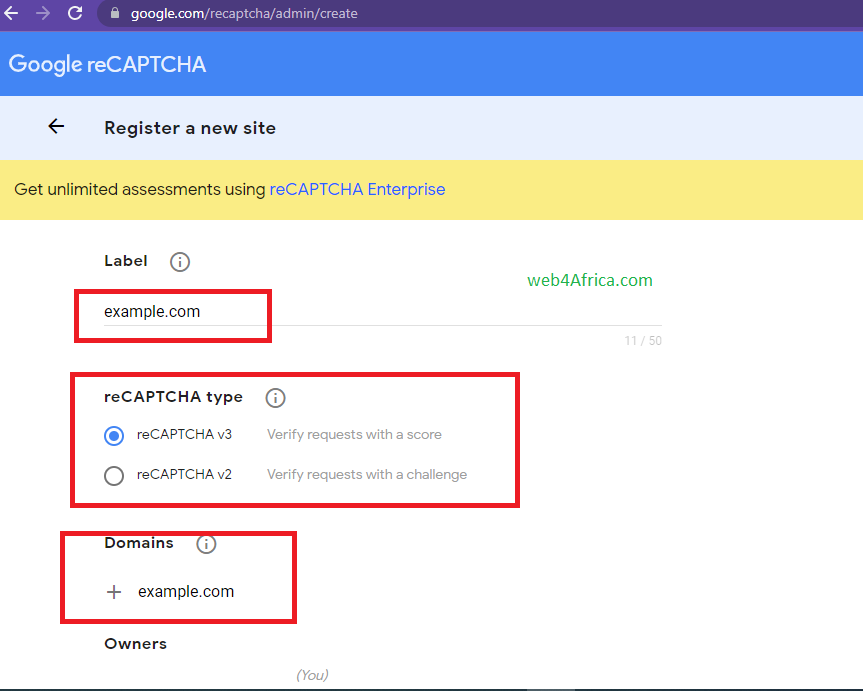
3. And fill in the required fields as shown below;
Label: Create a label for the site’s keys, e.g. example.com
reCAPTCHA Type: There are four different types of Google reCAPTCHA available for your site; you can read more on it; on this example, we will use ‘reCaptcha V3.’
Domain: The website URL where you will use these keys, such as example.com.
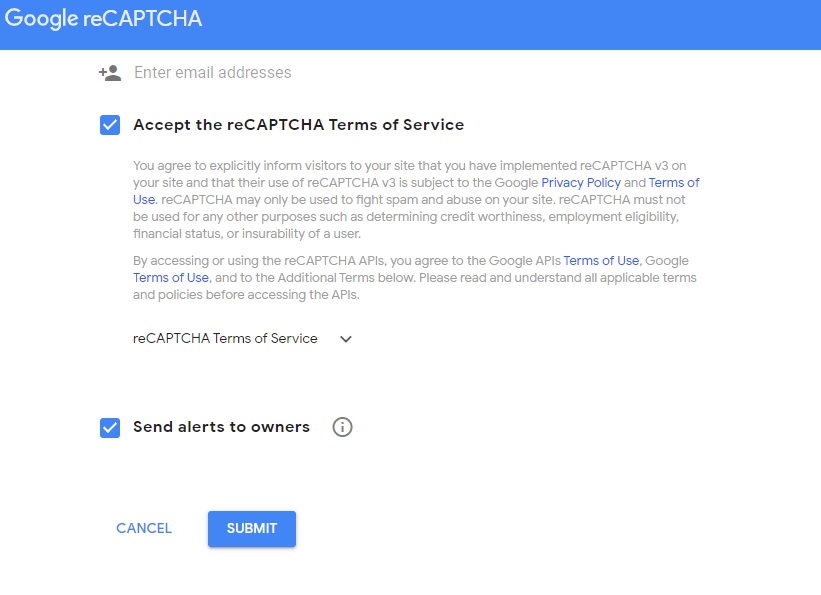
Terms of Service: Accept the reCAPTCHA terms of service to use reCAPTCHA for your site.
4. Accept the reCAPTCHA Term Of Service and click Submit.
7. Log in to WordPress as the administrator.
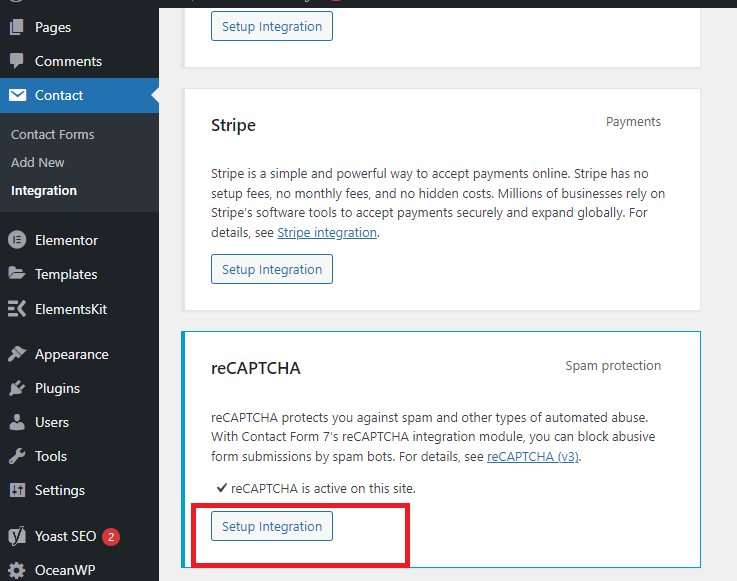
8. Under Dashboard, click Contact Form 7 or Wp-form (you can use any of the plugins)
In this example, we will be using ‘contact form 7.’
- Navigate to your contact form and click on integration

4. Then check for reCAPTCHA and click on
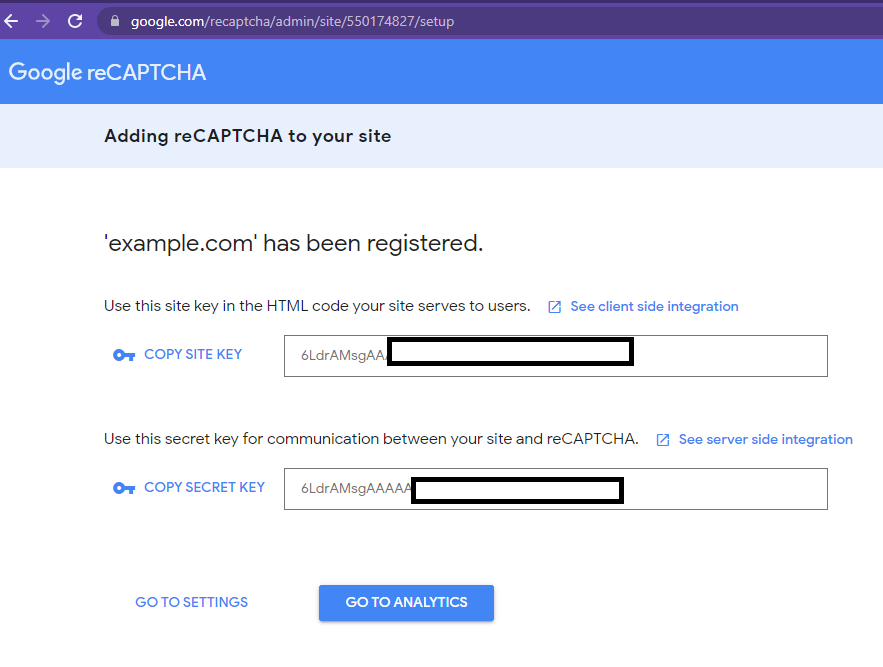
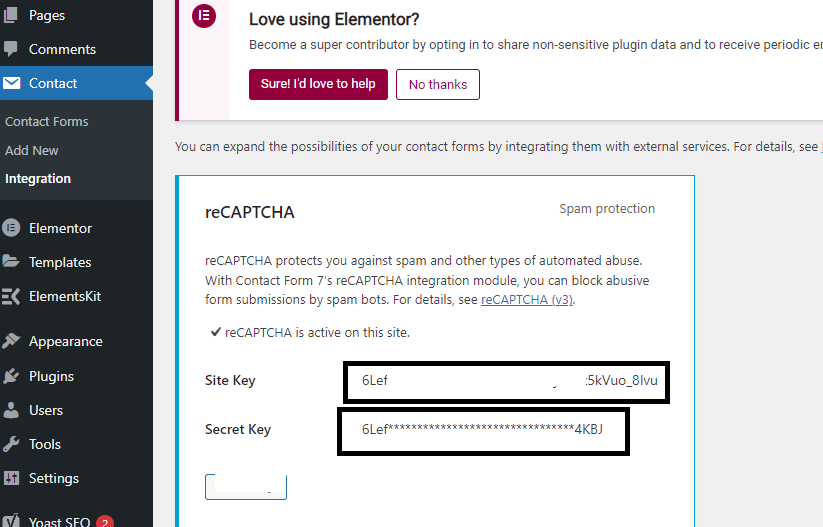
5. Copy and Paste the keys generated from the google captcha page and click on save; that’s all.
CAPTCHAs are now activated for your site.
Leave A Comment?